Create an On-Demand Scenario in Make
Your AI agent can only run scenarios with on-demand scheduling. The agent sends the scenario input values, the scenario runs its steps, and it can send data back to the agent. If you haven’t connected Make to your agent yet, start with Set Up Make Integration.
- In Make, click Create a new scenario.
- Add the first module: search for the Scenarios app and pick Start scenario. This usually switches the scenario to on-demand scheduling. If it doesn’t, select On demand in the scenario’s schedule settings.
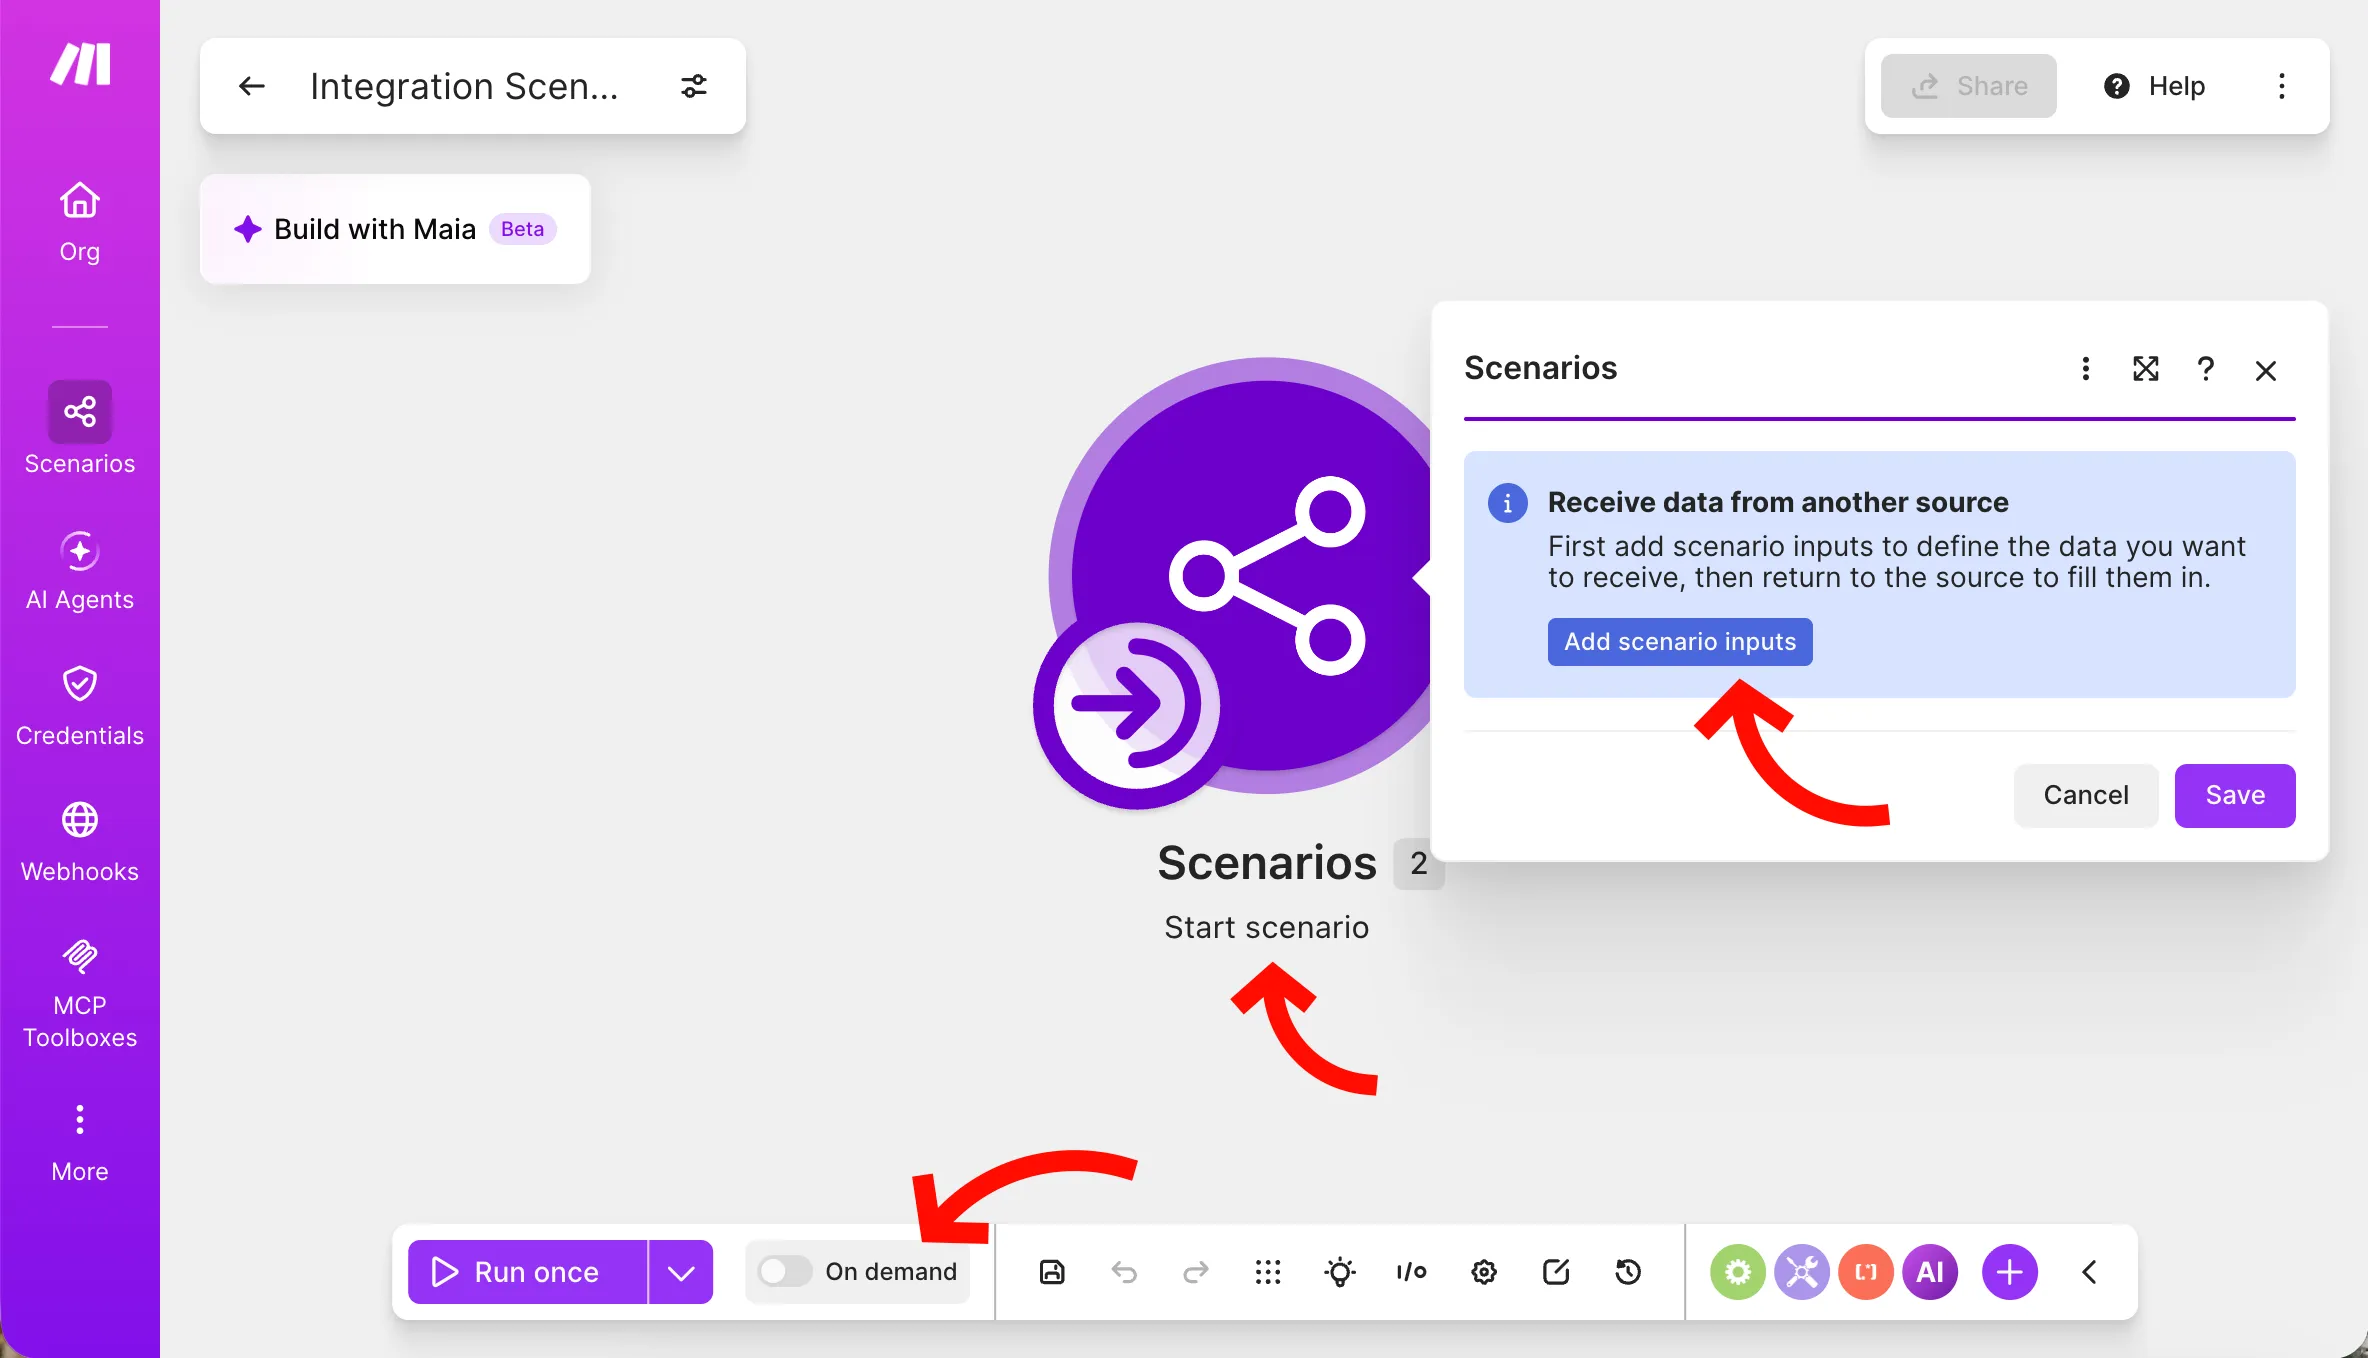
- In the Start scenario module, click Add scenario inputs. Add one input for each piece of data the agent should pass — for example,
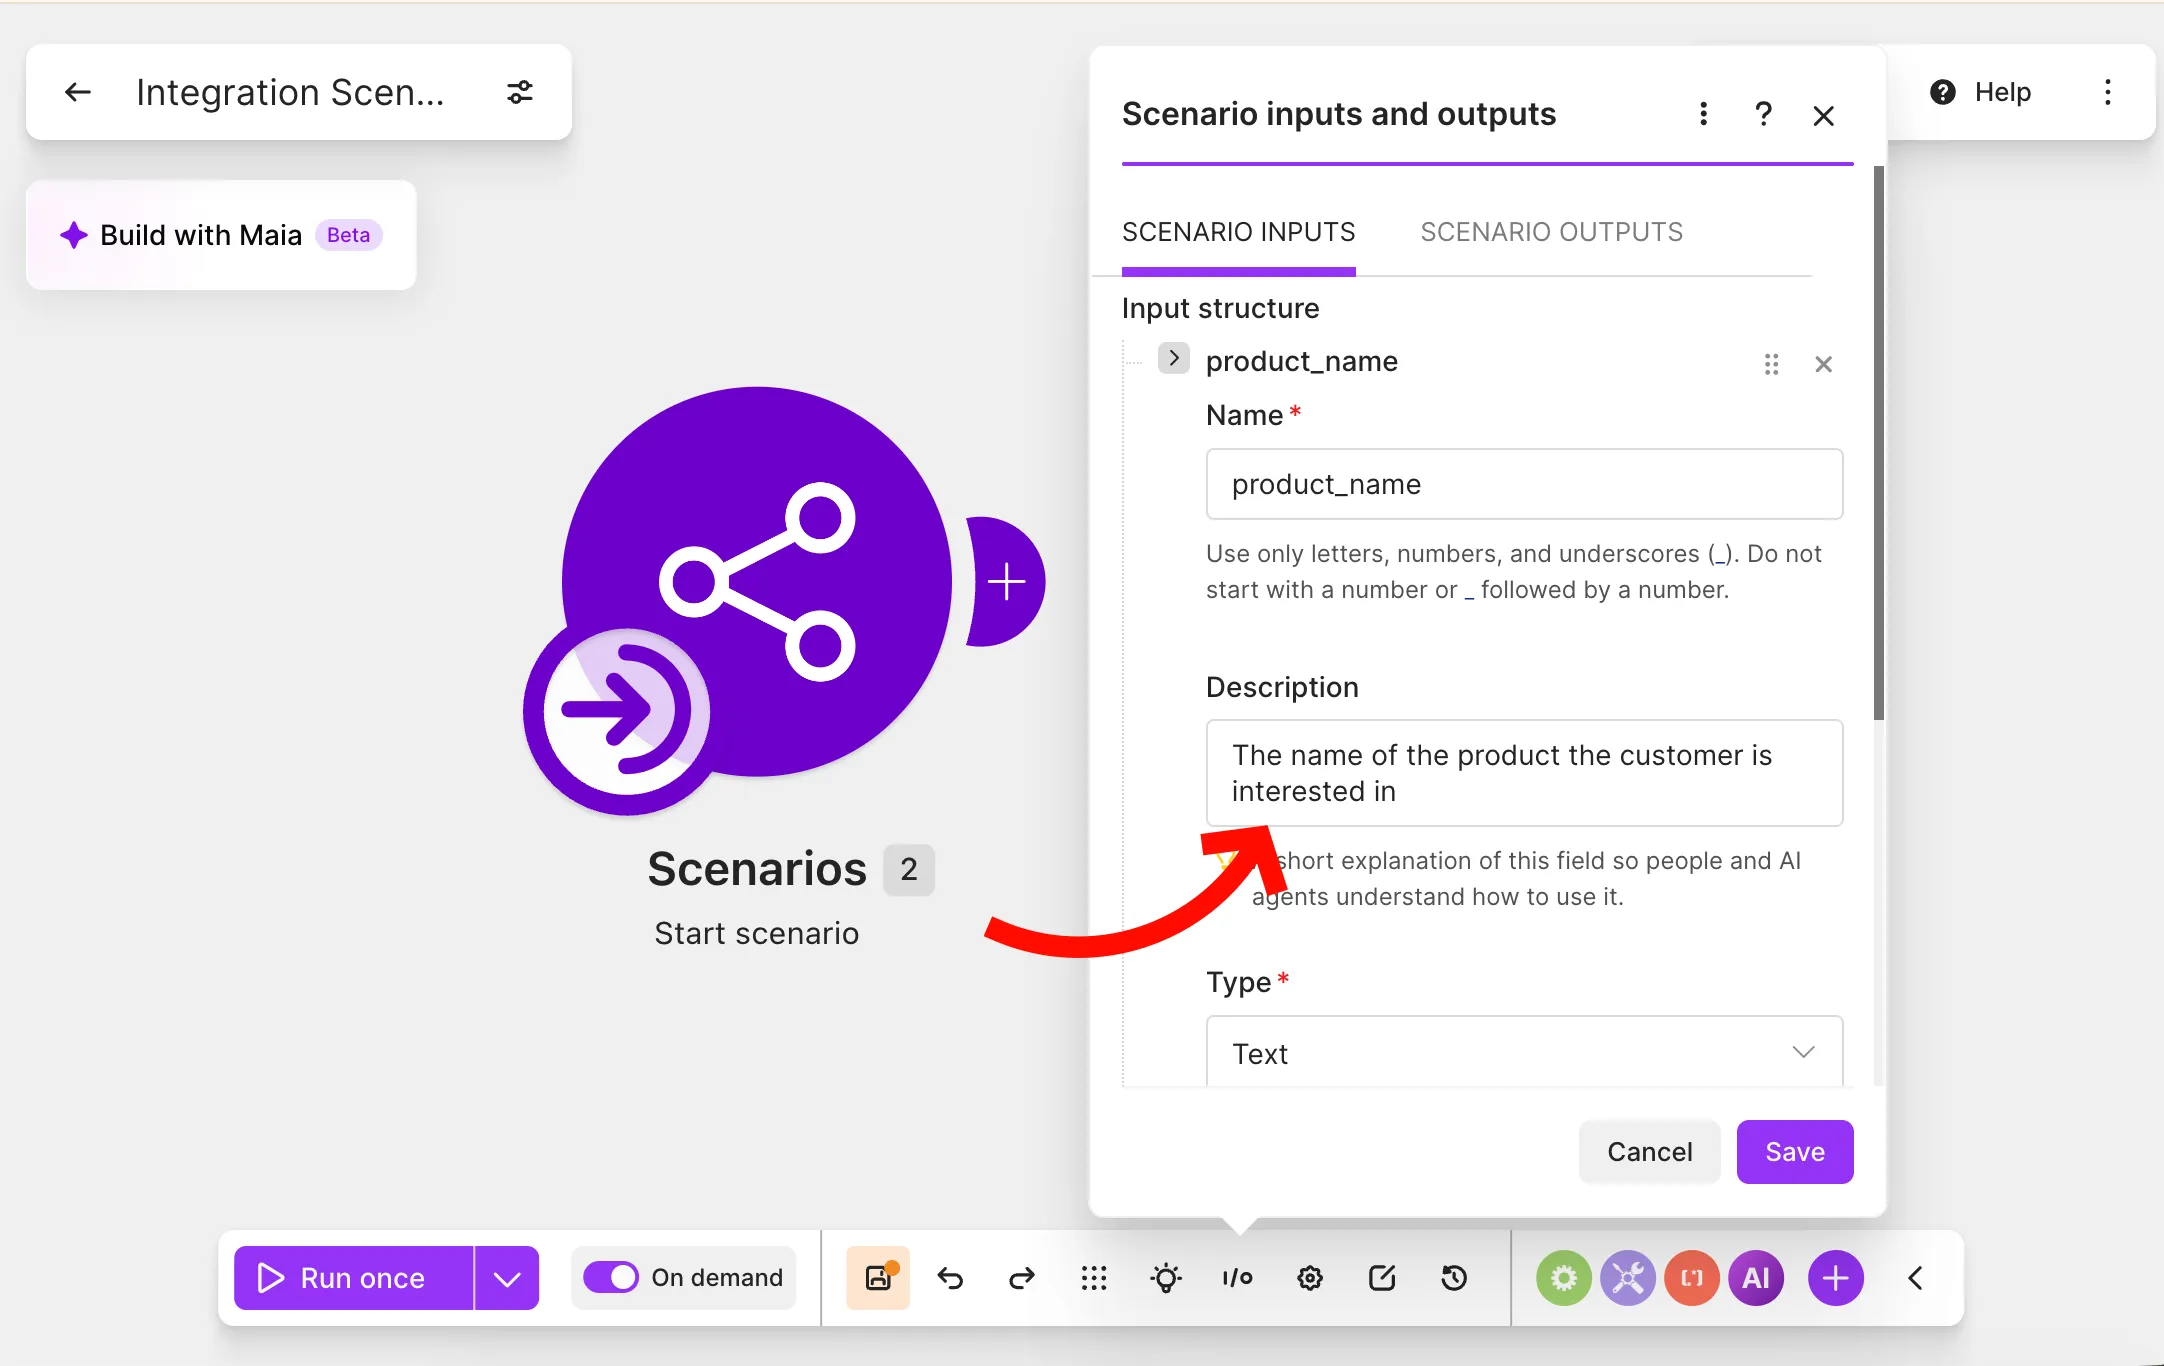
nameandemail. Give each one a name (Latin letters, numbers, and underscores only) and a type. - Fill in the Description of every input. Write what the value is — for example, “The name of the product the customer is interested in”. Don’t skip this: the AI uses these descriptions to find the right data in the conversation.
- Add the modules that do the actual work — send an email, create a record, call an API. Map your inputs into them.
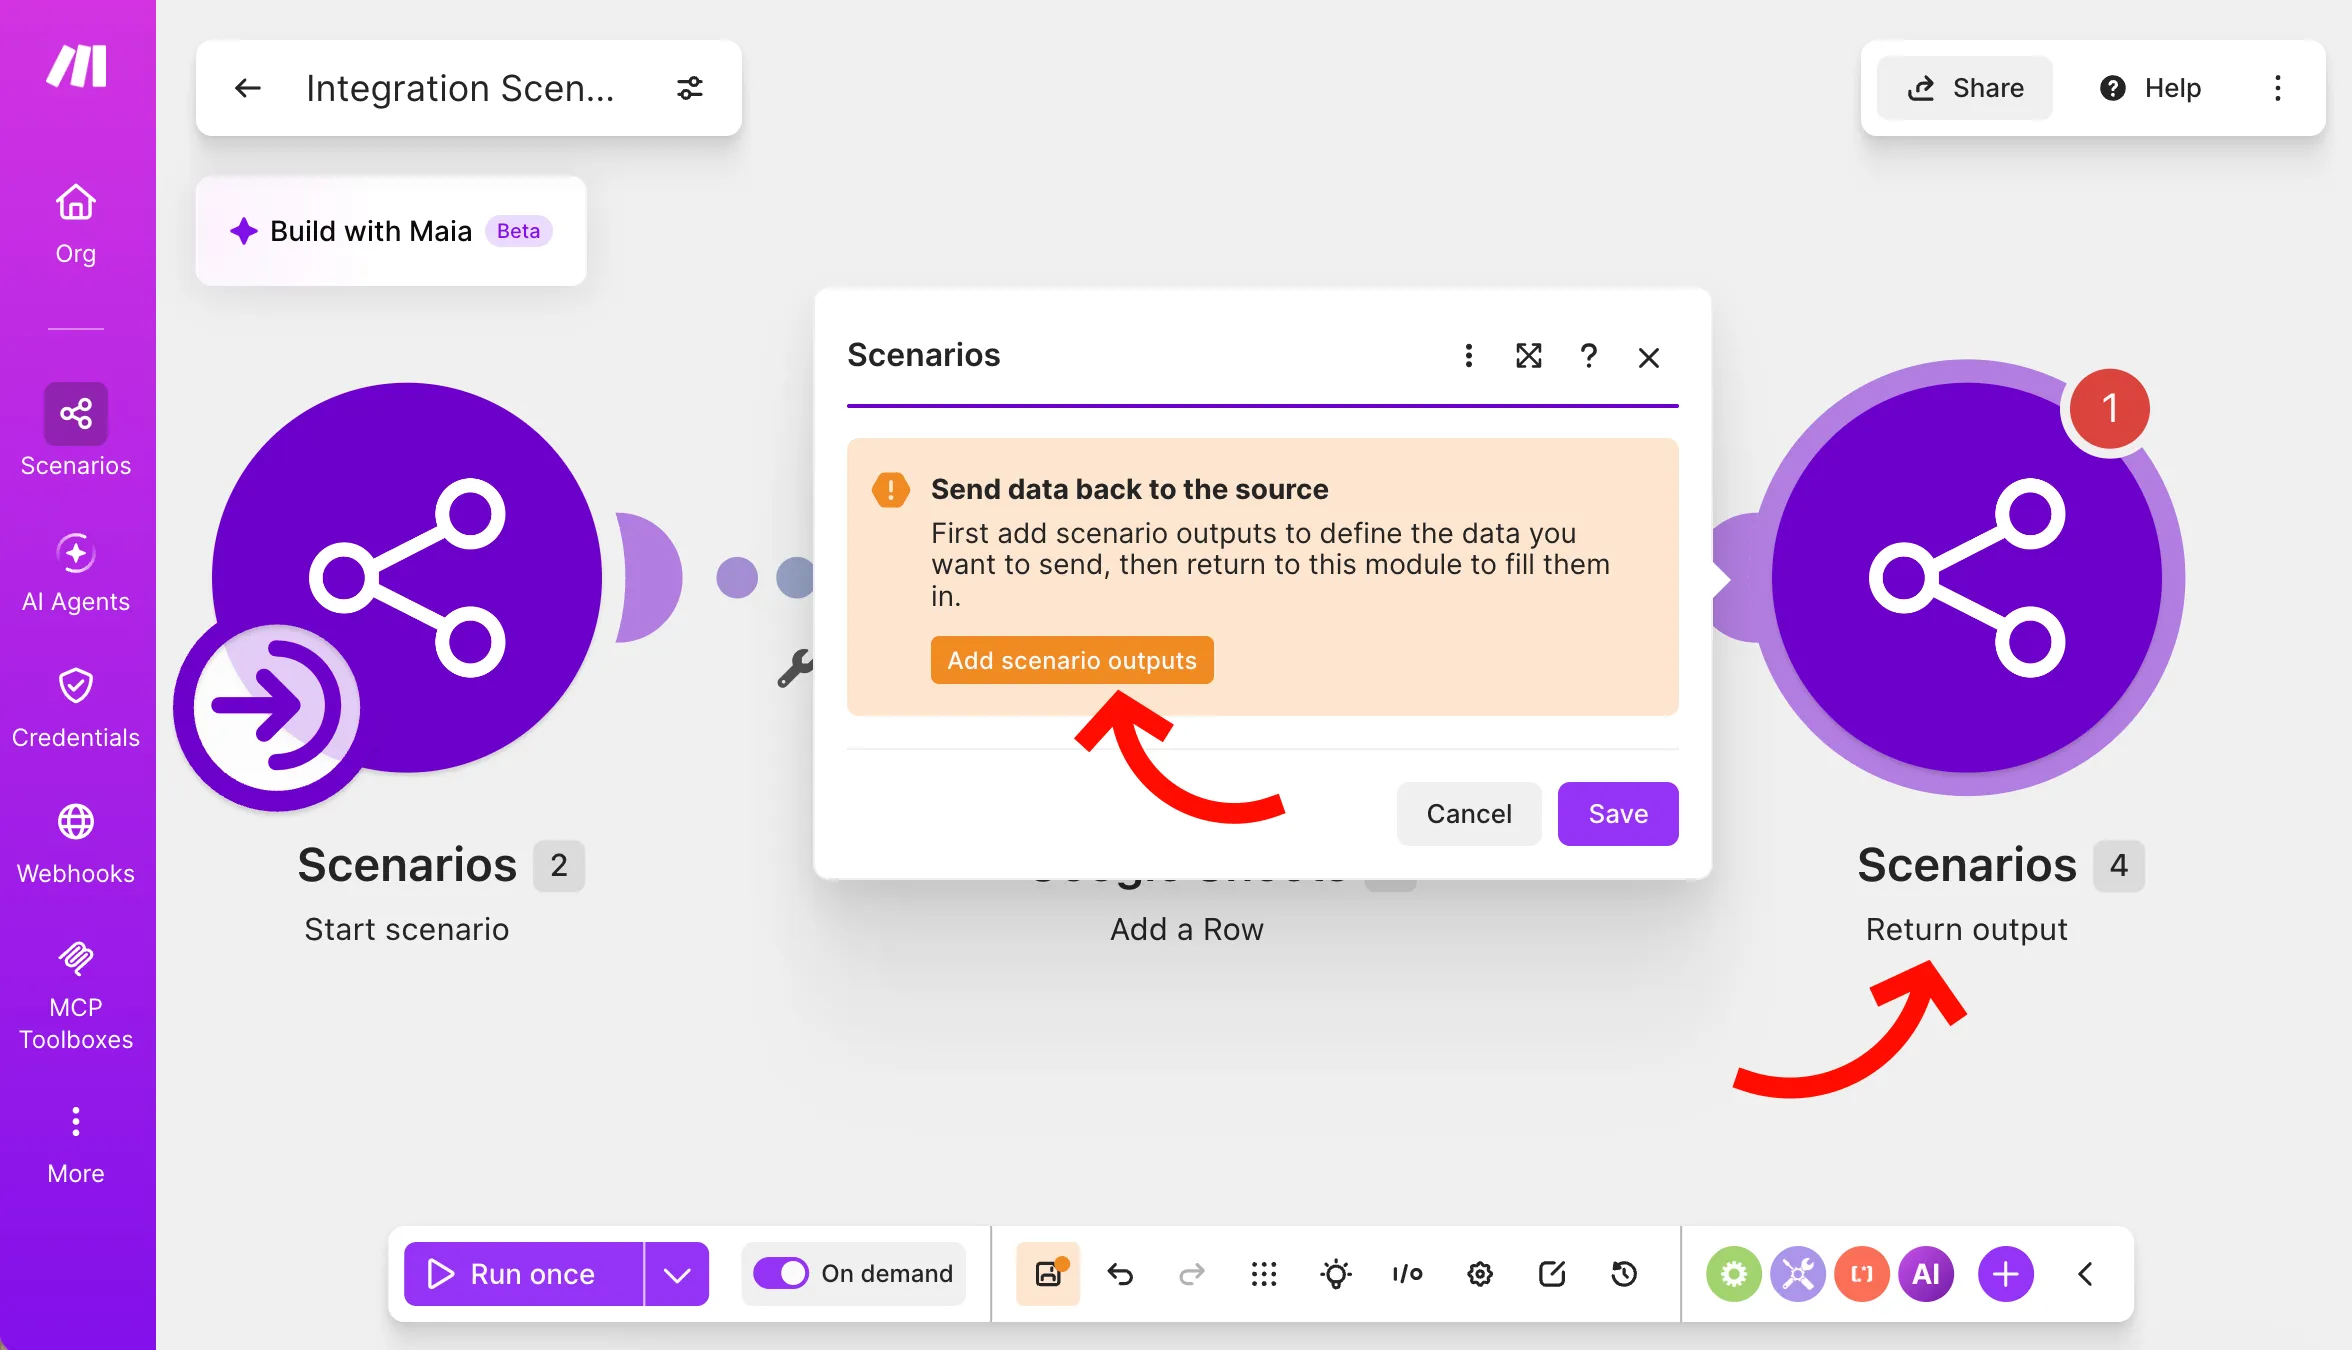
- If the scenario should send data back to the agent, add the Scenarios → Return output module at the end. Click Add scenario outputs and define the outputs the same way as the inputs. Then map your results to them — the agent can use this data in its reply.
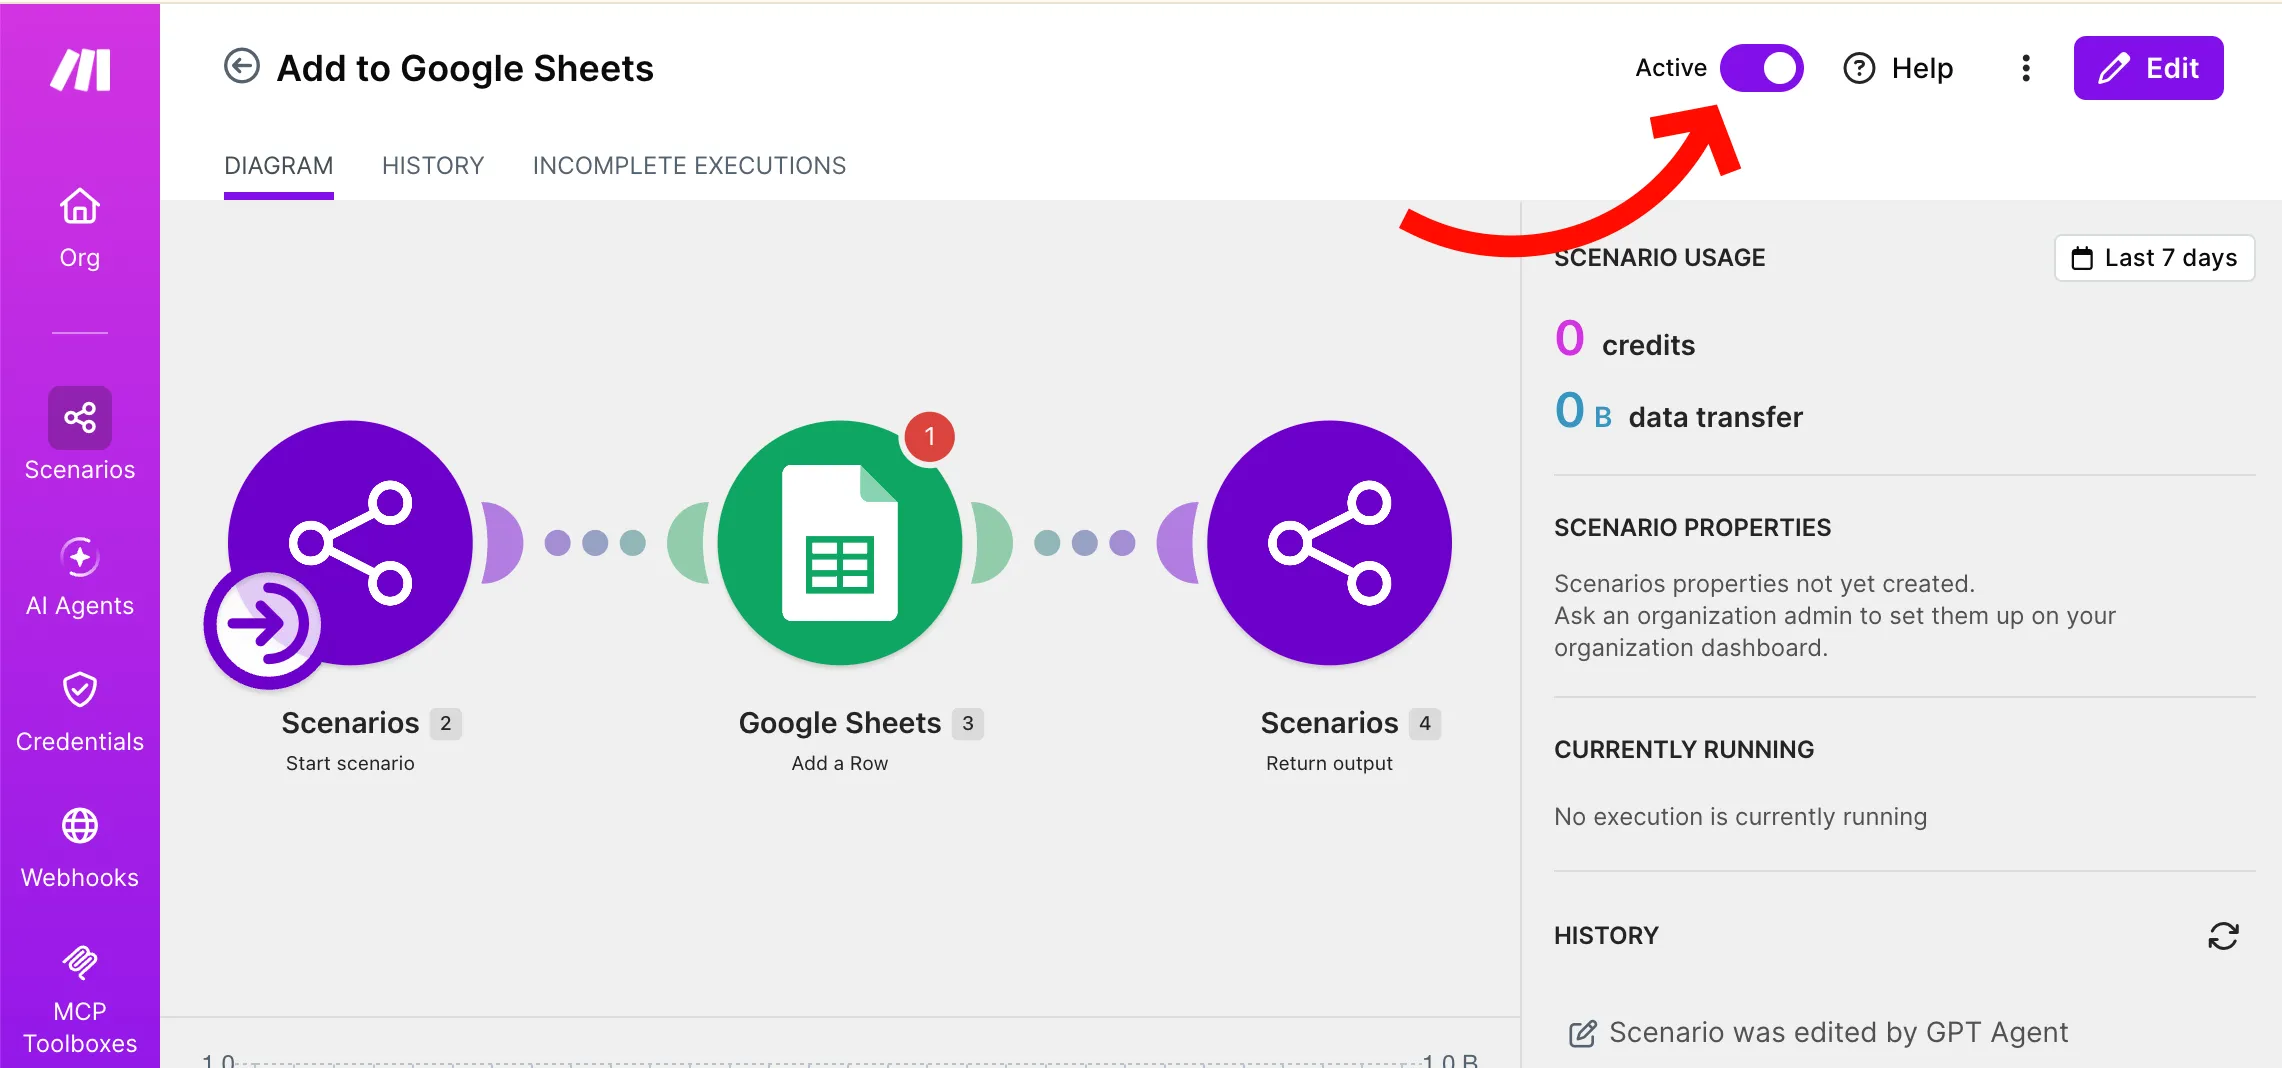
- Turn on the Active toggle in the top-right corner of the scenario.